Meteor Security Checks

Meteor Security Checks
Securing a web application is all about understanding security domains and understanding the attack surface between these domains. In a Meteor App, code that runs on the server can be trusted. Code that runs on the client, data sent through Method and publication arguments, etc, can’t be trusted. In practice, this means to validate all inputs from the client and don’t leak any secret information to the client.
In this guide, we will describe the security checks for Meteor Application.
We will look into following points :
- How to secure Meteor Methods?
- Publications and source code
- Where to store secret keys in development and production?
- How to follow a security checklist when auditing your app?
DESCRIPTION
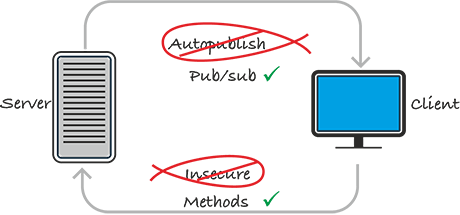
Remove autopublish package
Autopublish serves up all the data in your database to the client. This actually has both security implications and potential performance issues. Publishing everything could overload the server.
meteor remove autopublish
Remove Insecure package
Insecure allows all clients to update anything in the database that they want. The majority of applications should have a little security and authorization built into creating and updating database information, so removing insecure is a pretty natural step.
meteor remove insecure
Setup Allow/Deny Rules
Setup a powerful set of authorizations on your database data. This ensures that right people have access to the right data. With the allow/deny rules, you build set of authorizations.
Suppose, ‘Posts’ is your collection. It is recommended to add these lines to your collection file to allow document owner to update and remove document:
Posts.allow({
  insert: func on (userId, doc) {
 return userId;
},
update: func on (userId, doc, fields, modifier) {
 // can only change your own documents
   return doc.userId === userId;
 },
 remove: func on (userId, doc) {
  // can only remove your own documents
 return doc.userId === userId;
 }
});

Let's deny anyone that tries to update the document owner userId:

Posts.deny({
 update: func on (userId, docs, fields, modifier) {
 // can't change owners
   return _.contains(fields, 'userId');
 }
});
Deny all user update, including user.profile updates
In Meteor.js you can add user accounts easily with accounts-ui and accounts-password package. When you take a look at the data structure, you will notice a subdocument in the user document, a profile object. A profile object is completely writeable by default.
Suppose user working in multiple department, wants to add all his departments to profile. You call Meteor.user() in the client, the profile is right there with all profile data.You can update profile like this:
myDepartmentIds =
template.$('#selectedDepartmentIds').val();

Meteor.users.update(id,
{$push: {"profile.departmentIds": myDepartmentIds}});
Don’t do this, because the user can issue their own update from the client and you can’t stop them if you left the default settings in. Also, you are now exposing all that profile data to a malicious user.
The fix is actually pretty simple, just add a deny rule to the users collection like so:
Meteor.users.deny({
          update: function() {
                return true;
          }
    });
Don’t Over publish your data
Over publishing data is a pretty common mistake. For instance, you have a list of events and each event has group of attendees. Maybe you want to show user profile picture and username. You create publication like
Meteor.publish('eventAttendees', function(ids) {
          return Meteor.users.find({_id: {$in: ids}})
    });
It looks good, but when you go into your browser console and type Meteor.users.find({}).fetch() and inspect the records that come back. You have published all the data for any attendee users such as OAuth token, bcrypted password hash, reset password token, resume tokens etc.
This is an honest mistake. It is easy to fix by modifying Find call to only publish the data you need.
Meteor.publish('eventAttendees', function(ids) {
return Meteor.users.find({_id: {$in: ids}}, {fields:
{'profile.pictureUrl': 1, username: 1}});
});
By using the fields option and passing in ‘1’ on the fields we want, we will only get that specific data published via the publication. If you pass 0 instead, you can remove certain parts of data from the publication results instead.
Only use this.userId on the server, don't trust user passed in userIds
Take an example of an admin panel that shows a list of all users in the system. We don’t want non-administrators having access to all of the user data in the system. Here’s the publication,
Meteor.publish('users', function(userId){
            if(Roles.userIsInRole(userId, 'admin')){
                return Meteor.users.find({}, {fields: {...});
            }
    });
This publication takes an argument that is intended to be the current user’s ID. It would be subscribed to on the client like this:
Meteor.subscribe('users', Meteor.userId());
If you pass User ID, you may notice a few potential problems as below
- Admin User ID can be guessed
Since the User ID is passed as an argument, a malicious user could potentially just guess an administrator’s ID. - Easily subscribe to the publication from browser console.
Once administrator’s ID is guessed, then it is possible to subscribe to the other publications like posts, comments, profiles etc. from the browser console.
The correct fix for this issue is to not pass User ID as an argument. Instead, use Meteor User ID within the server methods. Always check your arguments. When accepting user provided arguments in methods or publication, always use Meteor’s check method to ensure that the argument you’re getting is of the expected type.
Meteor add audit-argument-checks Package
meteor add audit-argument-checks
This audit-argument-checks package causes Meteor to require that all arguments passed to methods and publish functions are checked. Any method that does not pass each one of its arguments to check will throw an error, which will be logged on the server and which will appear to the client as a 500 Internal server error. This is a simple way to help ensure that your app has complete check coverage.
Methods and publish functions that do not need to validate their arguments can simply run check(arguments, [Match.Any]) to satisfy the audit-argument-checks coverage checker.
Make sure secret Keys and password aren’t in your source code
Every app will have some secret API Keys or passwords. These should never be stored as part of your app’s source code in version control because you might copy code around to unexpected places. Thus these keys get shared. Your keys could be used without your knowledge.
To avoid this, you can pass settings to your app through a settings file or an environment file.
Meteor.settings is an easy way for us to customize certain variables inside our code to be controlled externally by our environment. You can create a settings.json file and do a meteor run –settings settings.json. Just make a quick JSON block to set these.
# Pass development settings when running your app locally
        meteor --settings development.json

# Pass production settings when deploying your app to Galaxy
        meteor deploy myapp.com --settings production.json
In your app’s JavaScript code, these settings can be accessed from the variable Meteor.settings. If you put data under a special key called public, it will be available on the client.
The other way to get these settings into your application is to set the METEOR_SETTINGS as an environment variable for your running Meteor process – this is the recommended way to handle staging and production settings. Just do METEOR_SETTINGS={“public”: {“key”: “ABC”}} meteor run or some such.
Be careful with {{{}}}
Here we are addressing potential Cross Site Scripting (XSS) and/or Stored XSS attack vectors. One potential attack vector is the use of triple brace tags. Allowing un-sanitized user input into these raw tags can potentially let malicious users execute javascript on other clients’ machines. This is bad!
All of the templates used in the application live in the Template object. If you’re interested in a particular template, you can drill into its renderFunction and access it directly. We can easily find all of the templates that use triple braces throughout the application. Thus one can get all uses of triple braces throughout your application. So you need to ensure that the content being rendered is truly safe. Always be sure to sanitize any user input that may find its way into a triple brace tag.
Also, keep in mind that there are other XSS attack vectors such as the use of Spacebars. SafeString, dynamic attributes, and even within attribute values on certain attributes like href and onclick, to name a few.
Always be vigilant! Never trust user input!
Install and Configure Browser Policy
The browser-policy family of packages, part of Webapp, lets you set security-related policies that will be enforced by newer browsers. These policies help you prevent and mitigate common attacks like cross-site scripting and clickjacking. Browser Policy is one of the easiest ways prevent a wide array of malicious attacks against your app.
When you add browser-policy to your app, you get default configurations for the HTTP headers X-Frame-Options and Content- Security-Policy. X-Frame-Options tells the browser which websites are allowed to frame your app. You should only let trusted websites frame your app, because malicious sites could harm your users with Clickjacking attacks. Content-Security-Policy tells the browser where your app can load content from, which encourages safe practices and mitigates the damage of a cross-site-scripting attack. Browser-policy also provides functions for you to configure these policies if the defaults are not suitable.
If you only want to use Content-Security-Policy or X-Frame-Options but not both, you can add the individual packages browser-policy-content or browser-policy-framing instead of browser-policy.
For most apps, we recommend that you take the following steps:
Add browser-policy to your app to enable a starter policy. With this starter policy, your app’s client code will be able to load content (images, scripts, fonts, etc.) only from its own origin, except that XMLHttp Requests and WebSocket connections can go to any origin. Further, your app’s client code will not be able to use functions such as eval() that convert strings to code. Users’ browsers will only let your app be framed by web pages on the same origin as your app.
You can use the functions described below to customize the policies. If your app does not need any inline Javascript such as inline <script> tags, we recommend that you modify the policy by calling BrowserPolicy.content.disallowInlineScripts() in server code. This will result in one extra round trip when your app is loaded but will help prevent cross-site scripting attacks by disabling all scripts except those loaded from a script src attribute.
Meteor determines the browser policy when the server starts up, so you should call BrowserPolicy functions on the server in top-level application code or in Meteor.startup. BrowserPolicy functions cannot be used in client code.
Below is a sample policy.js that you can put anywhere in your server directory.
To prevent the site from being framed (recommended)
    BrowserPolicy.framing.disallow();
To prevent inline scripts (recommended)
    BrowserPolicy.content.disallowInlineScripts();
To prevent eval (strongly recommended)
    BrowserPolicy.content.disallowEval();
To allow inline styles (we found this necessary for Google Fonts to work)
    BrowserPolicy.content.allowInlineStyles();
To allow fonts to be loaded via data URLs (we load our icon font this way)
    BrowserPolicy.content.allowFontDataUrl();
To trust external scripts only from Google Analytics, Mixpanel, and Zendesk
    var trusted = [
              '*.google-analytics.com',
              '*.mxpnl.com',
              '*.zendesk.com'
                 ];
External scripts must be loaded over HTTPS

    _.each(trusted, function(origin) {
          origin = "https://" + origin;
          BrowserPolicy.content.allowOriginForAll(origin);
    });
Only a few minutes of work and you can get rid of a ton of potential attack vectors. We highly recommend giving it a try and make your web application more secure.
- Guide
- Meteor
- Security
- Web Development
Ujwala Sawant
14 November 2017
Related Posts

AI Code Review Bottleneck: Why PRs Slow Down

1 Breach, 3 Security Firms Burned

Your AI Tool Reads Too Much

$2M Risk: One API Ban Can Kill You

Anthropic Stores Every Prompt You Send — And May Be Lying to Yo

Microsoft’s AI Tools Were Hacked. Is Yours Next?

Why Uber Capped AI Coding Tools

Microsoft Build 2026: What Project Solara and AI Agent PCs Mean f

GitHub Copilot Just Got Expensive: Here’s What Smart ISVs A

Every AI Lab Is Now an Agent Lab — Here’s What ISVs Must

Google Says the Age of AI Agents Is Here: What SMB Owners Should

Why Your AI Subscriptions Are About to Blow Up Your Budget (And W

Building an AI Team for the Shop Floor

Why Zero Data Retention Will Make or Break Your AI Development St

Why Zero Data Retention Will Make or Break Your AI Development St

Claude Code Source Leak Reveals the Secret Architecture Behind AI

Supply Chain Attacks Are Exploding: How AI-Powered Security Scann

Gemma 4 vs Microsoft’s New Models: Which AI Stack Will Win the

Why Your Startup Is Overpaying 300% for AI (And How to Fix It)

Why the LiteLLM Supply Chain Attack Changes Everything for AI Dev

EdTech Development: Creating Engaging Learning Platforms

Integrating Multiple Systems? How Custom Software Can Break Down

Staff Augmentation vs Project Outsourcing: Which Model Fits Your

Building an App? 5 Mistakes to Avoid in the Early Stages

DevOps in Custom Software: Accelerating Delivery and Quality —

UI/UX Best Practices for Custom Web Applications — What They Re

Mobile App Development Trends 2026: AI, IoT, and Beyond

Why Choosing the Right Tech Stack Matters

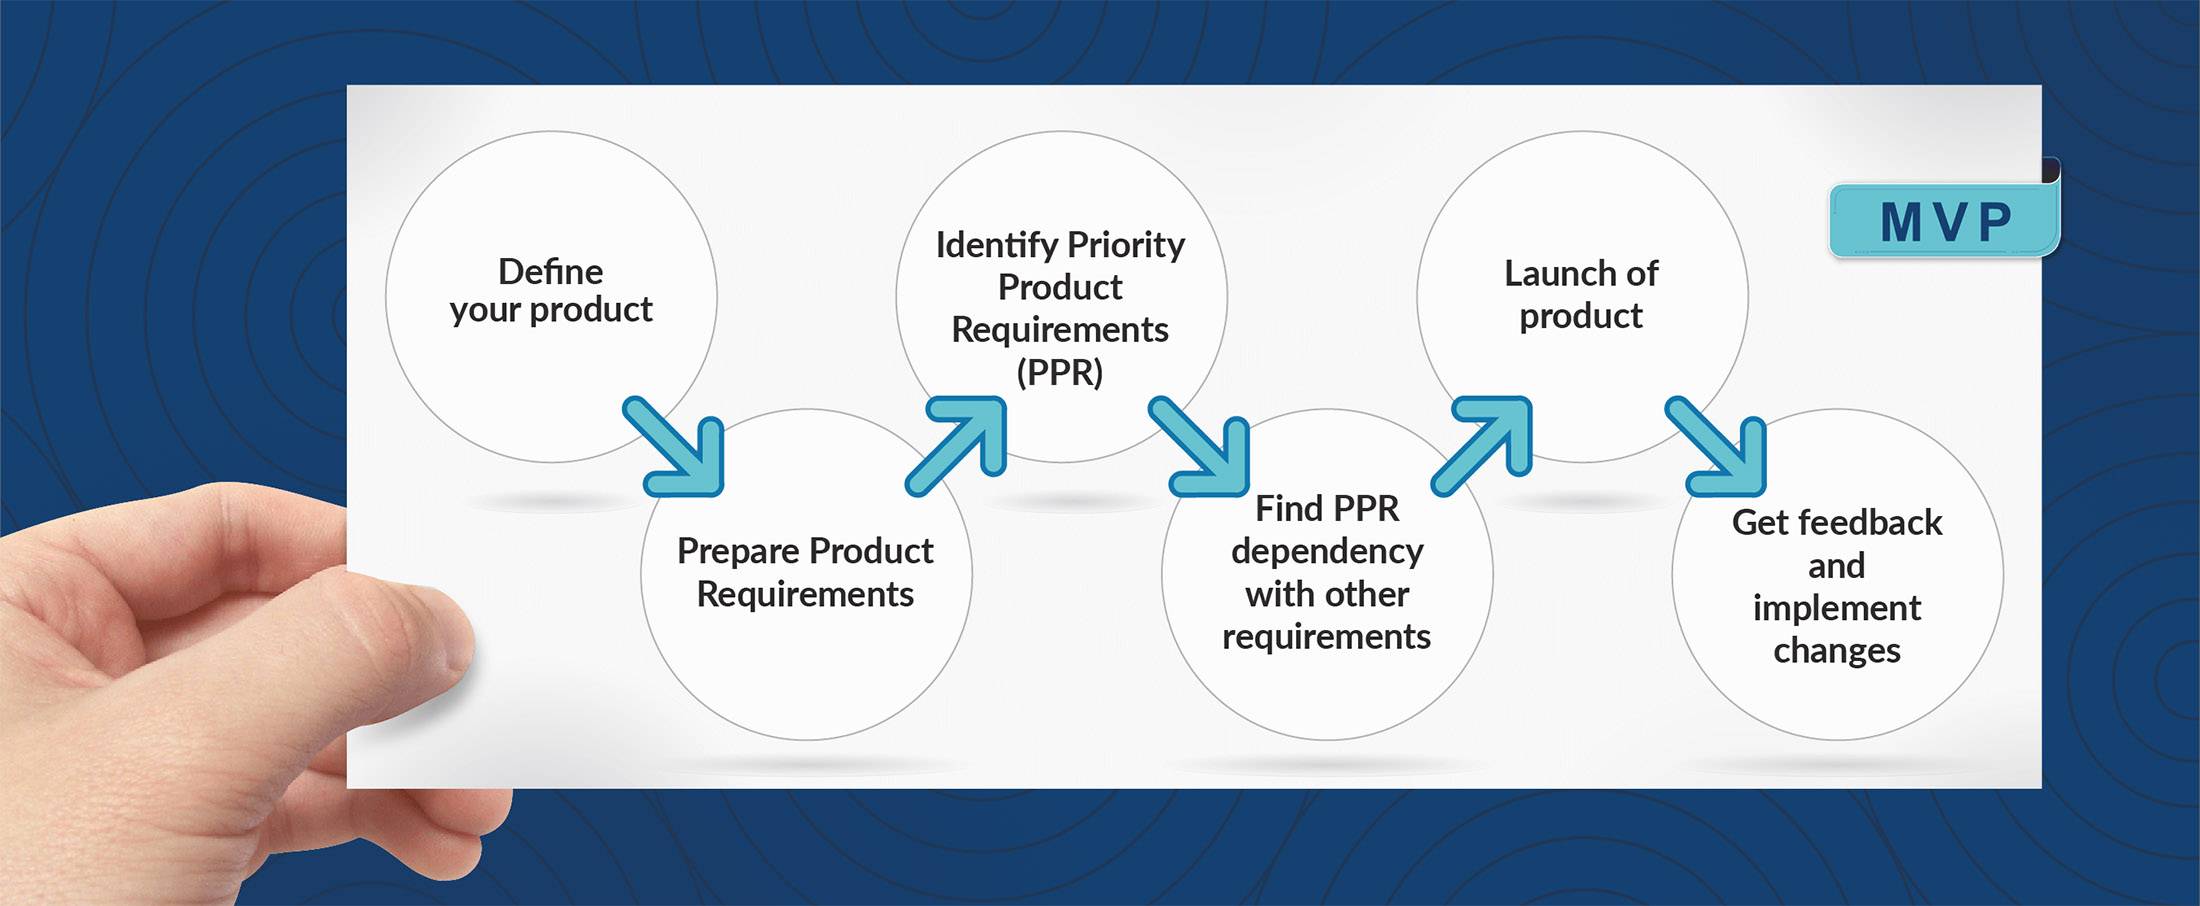
MVP Development: Focusing on Core Features for Success — and Ho

Inbox Under Threat: How Human Verification Can Protect Email From

How to Enhance User Engagement with These Mobile App UX Hacks

10 Signs Your Business Needs Custom Software (And Not Off-the-She

From Concept to Creation: Understanding Product Engineering Servi

Save Time and Money with Effective Prototyping in Software Projec

Securing Your Application: Best Practices from Day 1

Why Custom Software Is a Smart Investment for SMBs

Custom Software for Healthcare: Innovations That Meet Compliance

FinTech Software Development: Security and Compliance Best Practi

Understanding HIPAA Compliance in Healthcare App Development: A C

Breaking the Fix-It Loop – Why Patching Alone Slows Growth

Why ‘Technical Feasibility’ is Crucial Before Buildin

Can AI Replace Designers? The Real Impact on Creative Design Team

Redesigning Hiring for the Underserved – A Blueprint for Talent

Agile vs Waterfall: How to Decide the Best Fit for Your Project

Web App vs Mobile App: How to Choose the Right Platform for Your

Behavioral Traits – The Hidden Engine of Retention

Building Custom Software on a Budget: Expert Advice for Startups

UX as Emotional Infrastructure

Mock Interviews, Real Confidence: Preparing Beyond the Resume

Rapid Prototyping: How AI is Revolutionizing the Design Process i

What If Job Matching Measured Mindsets, Not Just Degrees?

Why Job Boards Fail in Developing Economies
Transforming Software: How AI is Making It More User-Friendly and

Leave Management System – Admin & HR Controls

When Code Bows to Culture

The Role of AI in Super High Paced Development: Transforming the

Who is Soham Parekh?

Leave Management System – Instant Leave Decisions

Leave Management System – Employee Leave Flow

AI-Based Error Log Analyzer: A Smarter Way to Handle Infrastructu

Why Pictures (and Sounds) Speak Louder Than Tables

Leave Management System – Mobile First

Leave Management System – Real Cost

Leave Management System

Keeping Workers Safe: How Computer Vision Revolutionizes Industri

The AI Whisperer: Unmasking Public Opinion with Sentiment Analysi

EHR Interoperability: Enhancing Care Coordination

EHR Security Best Practices: Safeguarding Patient Data

The Benefits of Implementing EHR Systems in Healthcare

Big Data Trends in Healthcare

Business Intelligence for Healthcare Industry

How Mobile Apps Are Transforming Healthcare

Practical Use Cases of RPA in the Healthcare Industry

Google Core Update January 2020

Health Information Exchange (HIE): A Primer

How Wearables are Helping to Monitor Patients

Best Practices for Successful EHR Data Integration

Importance of Sustainable Last-Mile Delivery Options in Building

Applications of 3D Printing in Healthcare

Application and Advantages of Artificial Intelligence and Machine

What is Technical SEO?

Healthcare Tech Space Review 2019
What is AWS Lambda? & AWS Lambda Use Case

Digital Marketing Strategies for Real Estate Agents

Web API and HL7 FHIR – The Future of Interoperability

Why FHIR is Better?

Real Estate Tech Space Review 2019

Improving Patient Care with Chronic Care Management

10 Healthcare Tech Trends to Follow in 2020

10 Real Estate Tech Trends to Follow in 2020

iBuyer: Disruptive Business Model or a Passing Fad?

Symptom Checker: Your personal mhealth app

Facebook for Real Estate Marketing

Use cases for Big Data in Real Estate

Can Real Estate be Uberized?

Using Predictive Analysis for Better Management of Patient Emerge

Challenges in Aggregating MLS Data

Home Navigation for the Visually Challenged

Uberization of Healthcare

Using mHealth for monitoring symptoms in children

Pinterest for Real Estate Marketing

Advancement of Voice Inputs over Text in Healthcare

Instagram for Real Estate Marketing

Chatbots in Healthcare
Why brokers are moving to custom solutions rather than using gene

Virtual Hospitals: Future of Healthcare

What Happens in Vegas, Stays in Vegas – Well, not if you ha

8 Healthcare Tech Trends to watch out for in 2019

6 Reasons Why Telemedicine Hasn’t Taken Off

5 Real Estate Tech Trends to watch out for in 2019

How MLS APIs Can Improve Your IDX Performance

How can Realtors generate quality leads using Social Media?

What is the difference between RETS and RESO Web API?

IoT for Healthcare

3D Home Tours – A must have in today’s world?

3D Printing in Real Estate

Pros & Cons of integrating RETS in your website

Blockchain: Opportunities for Healthcare

Pros & Cons of Integrating IDX in your Website

4 Reasons why you need to integrate RESO compliant MLS

Docker Selenium Grid for Parallel Test Execution
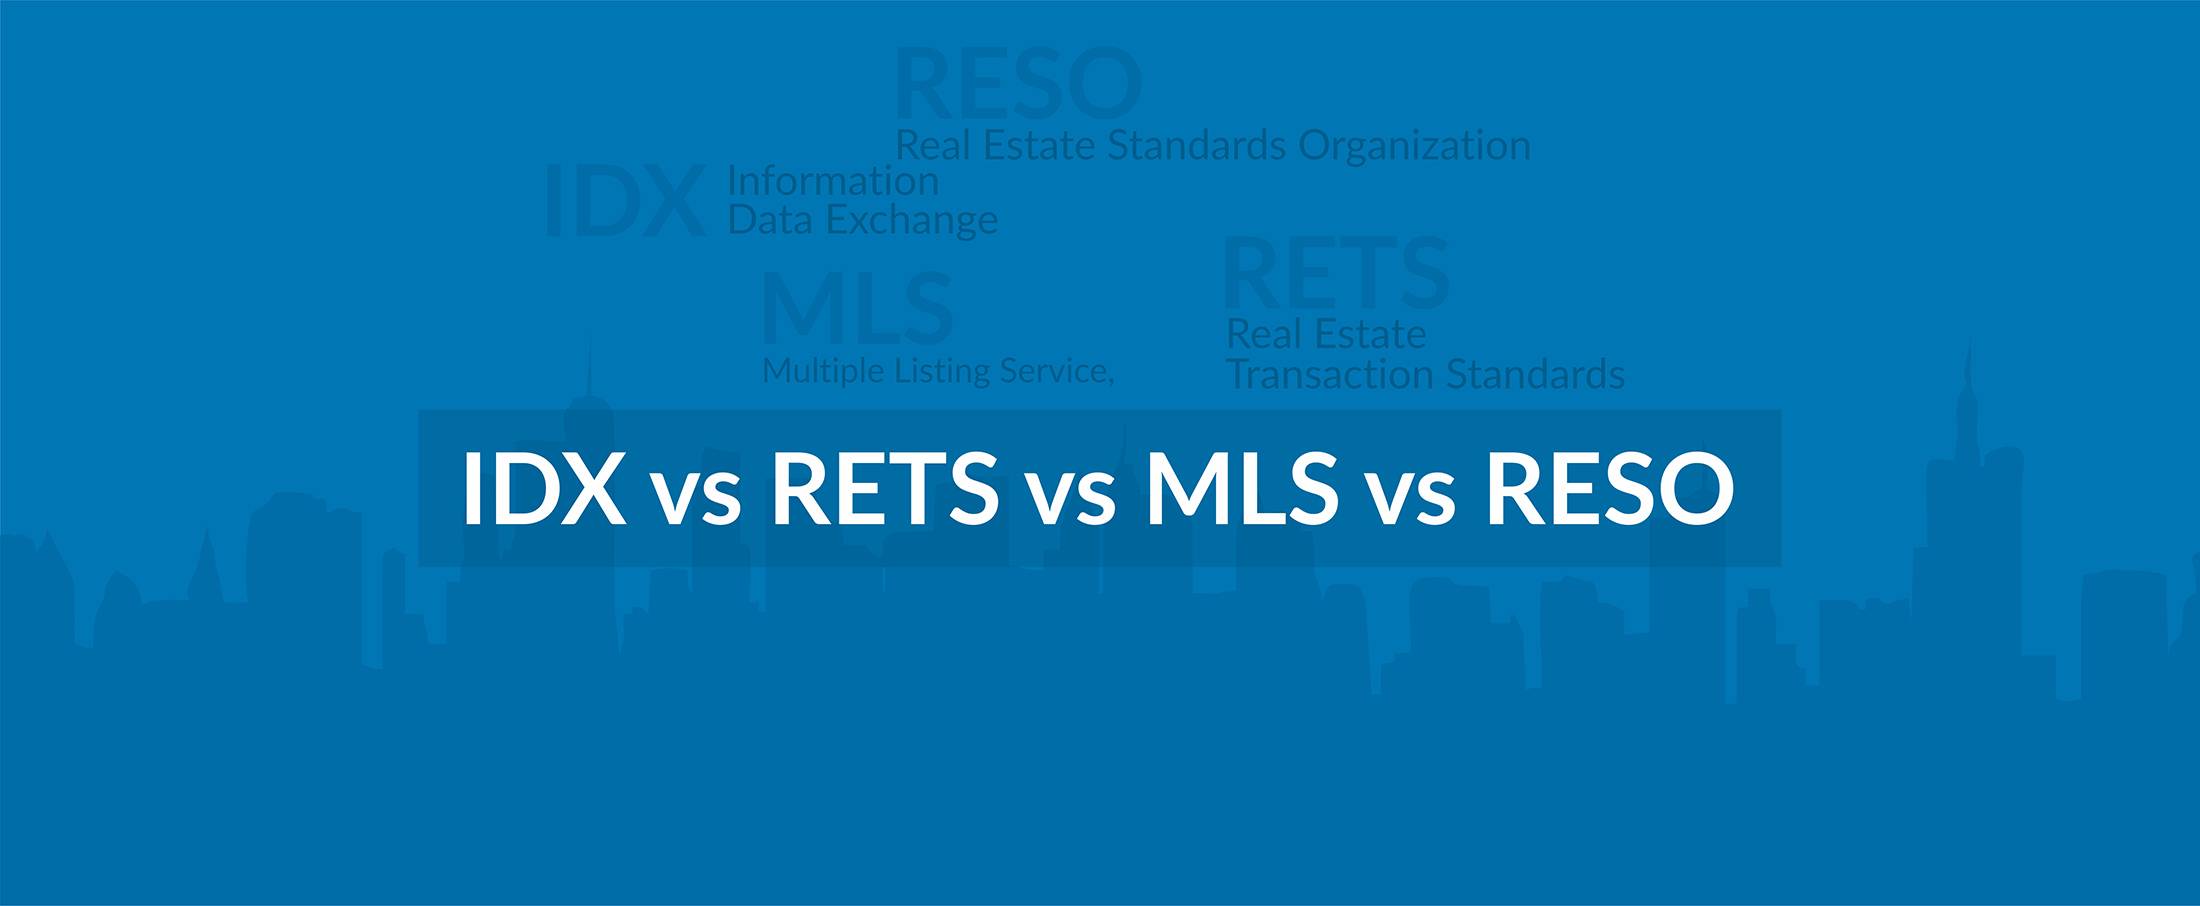
IDX vs RETS vs MLS vs RESO

How is AI Transforming Healthcare

The Future of Virtual Reality in Healthcare

Smart Contracts in Real Estate using Blockchain

How To Choose The Right CRM For Your Business

Best UX Design Practices for Healthcare Applications
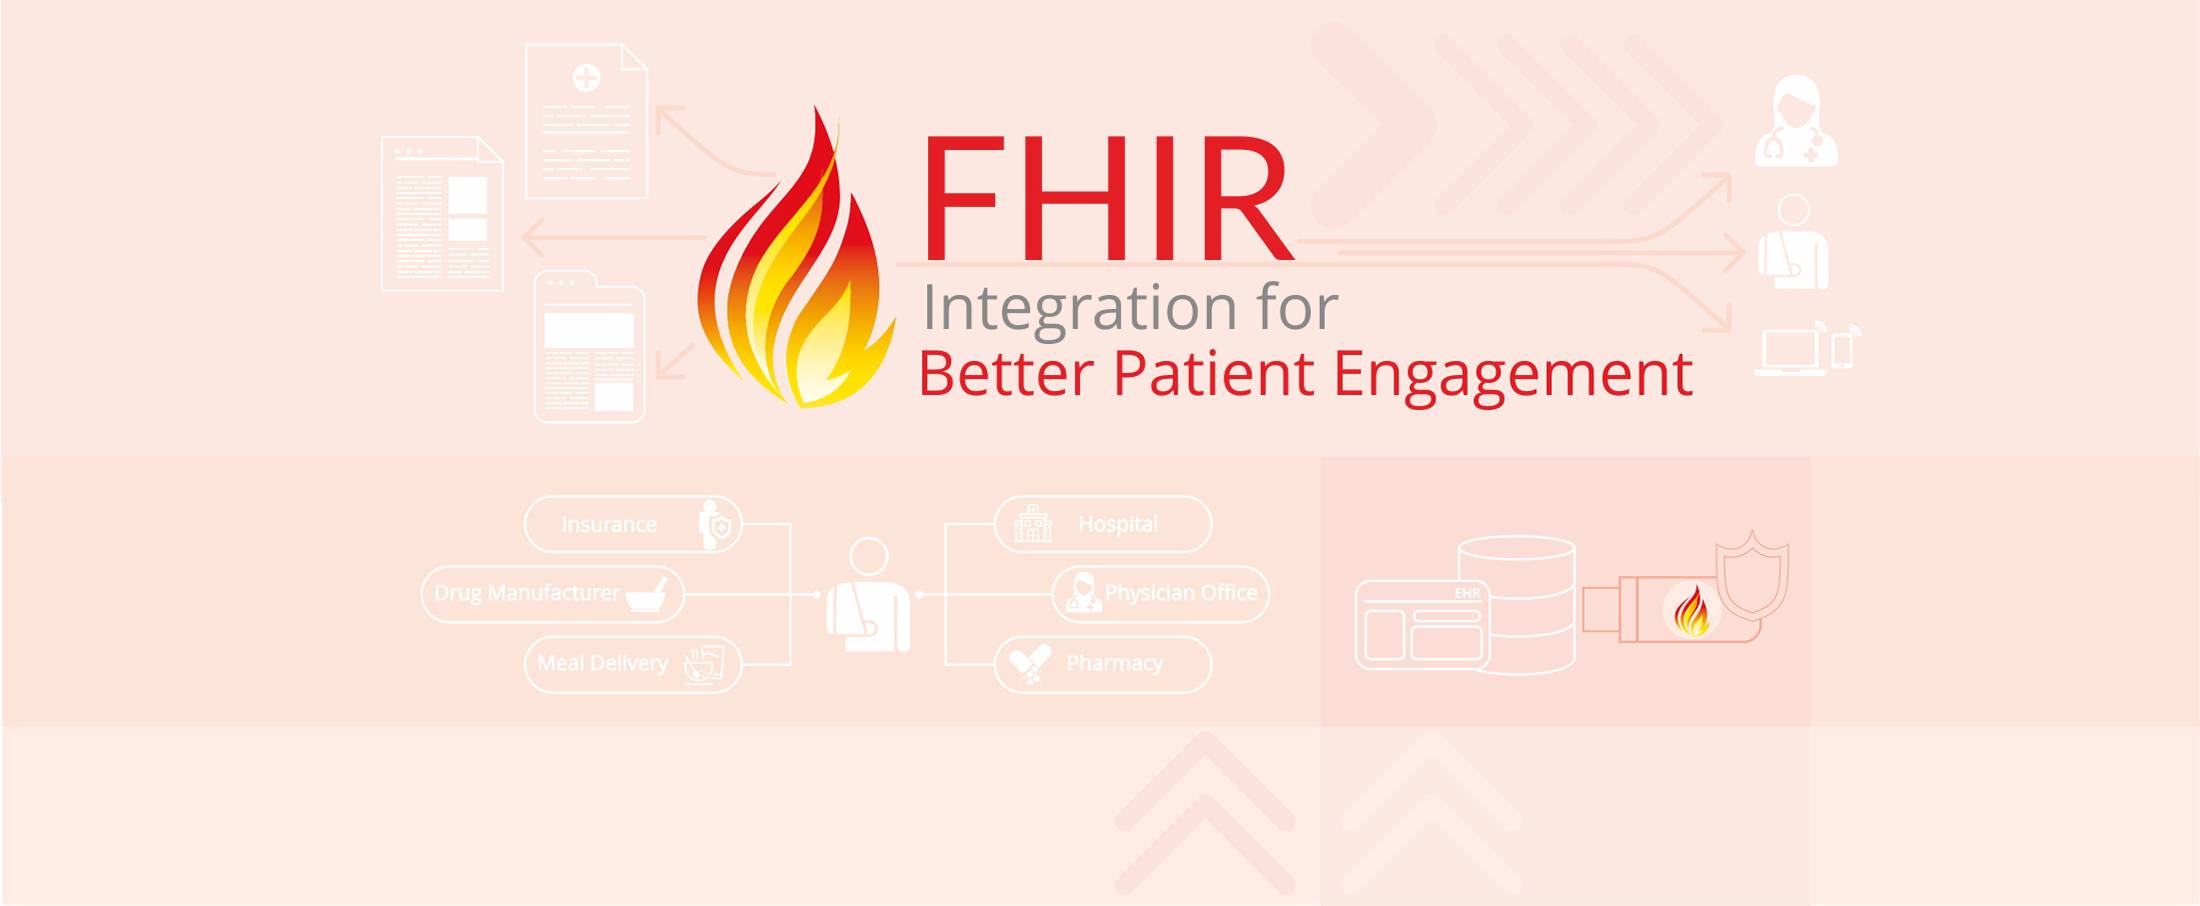
FHIR Integration for Better Patient Engagement

IoT for SMART Real Estate

AI to Automate Pre-Showing Process

Best Practices for Healthcare Data Governance

Will Virtual Reality in Real Estate Replace Property Showing?

A Secure Web is Here

Will Uber-ized Property Showing Gain Momentum?

Future of Cloud Computing in Healthcare

5 Real Estate Tech Predictions for 2018

Key Takeaways From Inman Connect NYC 2018 #ICNY
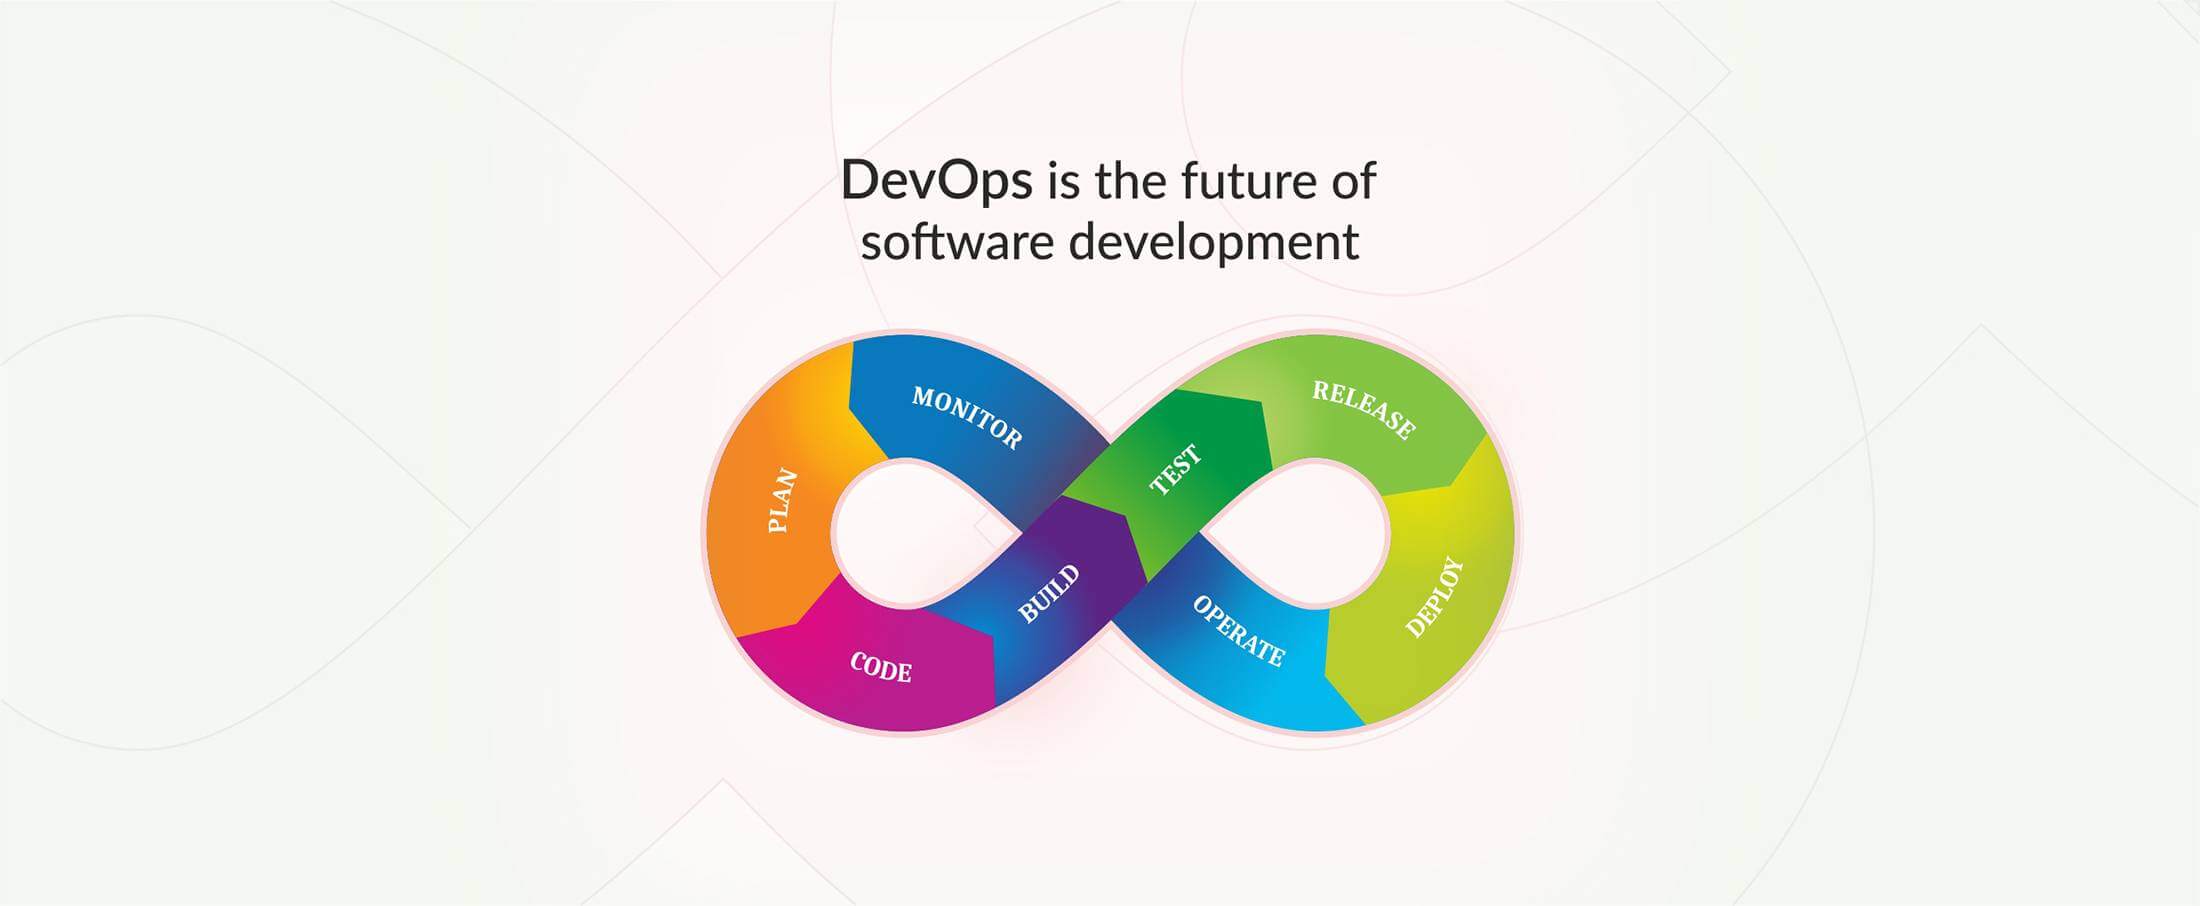
DevOps is the future of the software development

9 Proven Ways to Optimize Google Page Speed

3 Ways to Generate More Real Estate Sales Leads

Introduction to Elasticsearch

5 Real Estate Tasks to Automate

MLS Data: Roadblock for RealTech?

Part II – Writing Better, Faster and Easy to Maintain Mobil

3 Reasons Why You Need App Prototype For Your Idea

Apple Events September 2017

Part I – Writing Better, Faster and Easy to Maintain Mobile